

Why Ice Dams Form on Ohio Roofs and How to Safely Remove Them
Winter in Ohio can be beautiful, but it also brings a hidden menace that threatens your home’s roof, attic, and even your peace of mind: ice dams. If you’ve ever noticed water stains on your ceiling or heard the ominous drip‑drip of melting snow, you’ve likely encountered an ice dam. In this comprehensive guide, we’ll explore why ice dams form on Ohio roofs, the damage they cause, and—most importantly—how to safely remove them with the help of BR Masonry, your trusted local experts.
Table of Contents
- What Are Ice Dams?
- Why Ohio Roofs Are Prone to Ice Dams
- The Science Behind Ice Dam Formation
- Common Signs of Ice Dams
- Potential Damage (and Cost) of Ignoring Ice Dams
- Ice Dam Prevention Strategies
- Safe Ice Dam Removal: DIY vs. Professional
- Why Choose BR Masonry for Ice Dam Removal
- Step‑by‑Step Ice Dam Removal Process
- After‑Care: Keeping Your Roof Ice‑Dam Free
- Frequently Asked Questions
- Contact BR Masonry Today
What Are Ice Dams?
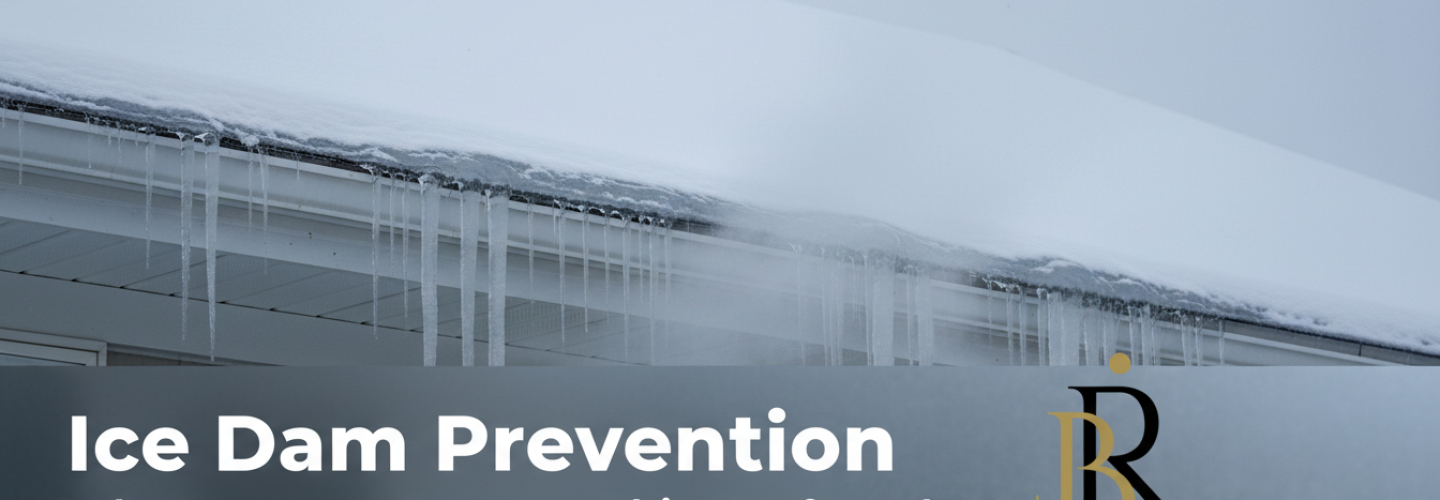
An ice dam is a ridge of ice that builds up at the edge of a roof, preventing melting snow from draining properly. Instead of flowing into the gutters, the water backs up behind the dam, seeps under shingles, and infiltrates the roof deck.
Key Characteristics
- Location: Typically form along eaves, valleys, and roof penetrations.
- Seasonality: Appear during prolonged sub‑freezing temperatures followed by a warm spell.
- Composition: A mix of ice, compacted snow, and sometimes frozen water from roof leaks.
Why Ohio Roofs Are Prone to Ice Dams
Ohio’s climate creates a perfect storm for ice dam formation:
- Fluctuating Temperatures: The Midwest experiences rapid swings from below‑freezing nights to above‑freezing days.
- Heavy Snowfall: Lake‑effect snow from Lake Erie can dump 10‑30 inches in a single storm.
- Older Housing Stock: Many Ohio homes were built before modern insulation standards.
- Roof Pitch: Low‑slope roofs common in suburban neighborhoods retain snow longer.
The Science Behind Ice Dam Formation
Understanding the physics helps you target the root cause.
Heat Transfer Cycle
- Heat Escape: Warm air from the attic rises, heating the roof deck.
- Snow Melt: The warmed portion of the roof melts the snow directly above it.
- Refreezing: Meltwater travels down to colder eaves, refreezes, and builds a dam.
Insulation & Ventilation Role
Insufficient R‑value insulation or blocked soffit vents allow heat to accumulate, accelerating the cycle. According to a U.S. Department of Energy study, homes with less than R‑38 in the attic are 45% more likely to develop ice dams.
Common Signs of Ice Dams
Spotting an ice dam early can save thousands in repairs. Look for:
- Water stains or discoloration on ceilings and walls.
- Peeling paint or warped drywall near roof lines.
- Icicles that are unusually long or thick.
- Visible ridges of ice along the eaves.
- Musty odors indicating hidden moisture.
Potential Damage (and Cost) of Ignoring Ice Dams
Ice dams are more than an inconvenience; they can cause severe structural and health issues.
Structural Damage
- Compromised roof decking and sheathing.
- Broken or warped shingles.
- Gutter detachment from water pressure.
Interior Damage
- Water infiltration leading to mold growth—the CDC links indoor mold to respiratory problems.
- Stained or ruined insulation, reducing energy efficiency.
- Potential damage to electrical systems if water reaches wiring.
Financial Impact
According to the HomeAdvisor 2023 cost guide, repairing ice‑dam damage can range from $2,500 to $10,000 per incident, depending on severity.
Ice Dam Prevention Strategies
Prevention is cheaper and less stressful than removal. Implement these proven tactics:
1. Improve Attic Insulation
- Upgrade to R‑38 or higher in the attic floor.
- Seal all gaps, especially around recessed lighting and vent chases.
2. Ensure Proper Ventilation
- Install continuous soffit vents and ridge vents to promote airflow.
- Consider powered attic fans for homes with limited passive ventilation.
3. Install Ice & Water Shield
Apply a self‑adhesive waterproof membrane along eaves and valleys. This acts as a secondary barrier if water does back up.
4. Maintain Roof & Gutter Health
- Clear gutters and downspouts before winter.
- Remove debris that can trap snow on the roof.
- Schedule regular roof inspections with a qualified contractor.
5. Use Heat Cables Wisely
Thermostatically controlled heat cables can melt snow along eaves, but they must be installed per manufacturer guidelines to avoid fire hazards.
Safe Ice Dam Removal: DIY vs. Professional
While the temptation to tackle ice dams yourself is strong, safety and effectiveness matter.
DIY Approach (When It’s Safe)
- Tools Needed: Roof rake, long-handled ice chisel, ladder stabilizer.
- Work from the ground whenever possible—use a roof rake to pull snow off the roof surface.
- Never walk on icy shingles; they can break under weight.
- Wear non‑slip boots, a harness, and a hard hat.
When to Call Professionals
If the ice dam is thicker than 2 inches, spans more than a few feet, or if you notice water inside your home, it’s time to call experts like BR Masonry. Professional crews bring:
- Specialized steam‑blasting equipment that melts ice without damaging shingles.
- Safety harness systems and fall‑protection training.
- Insurance coverage that protects you from accidental damage.
Why Choose BR Masonry for Ice Dam Removal
Based in Akron, Ohio, BR Masonry has been safeguarding homes from winter hazards for over a decade. Our team blends traditional masonry expertise with modern roofing technology.
Our Core Advantages
- Local Knowledge: We understand Ohio’s unique climate patterns and building codes.
- Certified Technicians: All crew members are OSHA‑trained and hold roofing certifications.
- Comprehensive Service: From ice dam removal to full roof insulation upgrades.
- Transparent Pricing: No hidden fees—receive a detailed estimate before any work begins.
Customer Success Story
“We called BR Masonry after discovering water stains in our basement. Their team removed the ice dam in under two hours, repaired the roof deck, and upgraded our attic insulation. We haven’t had any issues since, and our heating bills dropped 15%!” — Sarah L., Akron, OH
Step‑by‑Step Ice Dam Removal Process (BR Masonry)
Our proven method ensures safety, efficiency, and lasting results.
Step 1 – On‑Site Assessment
We conduct a thorough inspection, documenting ice dam size, roof condition, and any interior water damage. A detailed report is emailed to you within 24 hours.
Step 2 – Safety Setup
Our crew secures the roof with harnesses, installs ladder stabilizers, and sets up perimeter barriers to protect your property.
Step 3 – Controlled Steam‑Blasting
Using low‑temperature steam, we melt the ice dam without harming shingles or flashing. The steam also loosens compacted snow, allowing it to slide off safely.
Step 4 – Water Extraction
All meltwater is directed into a temporary drainage system, preventing it from re‑entering the attic.
Step 5 – Roof & Attic Inspection
We check for hidden leaks, damaged sheathing, and insulation gaps. Any necessary repairs are performed on the spot.
Step 6 – Preventative Measures
We install a premium ice & water shield along the eaves and recommend insulation upgrades tailored to your home’s R‑value needs.
Step 7 – Final Walk‑Through & Documentation
You receive a complete before‑and‑after photo set, a written warranty on our work, and a maintenance checklist for the next winter.
After‑Care: Keeping Your Roof Ice‑Dam Free
Even after a successful removal, ongoing maintenance is key.
Monthly Winter Checklist
- Inspect gutters for ice buildup.
- Use a roof rake after heavy snowfalls.
- Check attic temperature—ideally close to outside temperature.
- Verify that vent openings remain unobstructed.
Annual Professional Inspection
Schedule a spring or early‑fall inspection with BR Masonry’s roof inspection service. Early detection of insulation gaps or ventilation issues can prevent future ice dams.
Frequently Asked Questions
- What temperature range causes ice dams?
- Ice dams typically form when daytime highs rise above 32°F (0°C) while nighttime lows stay below freezing for several consecutive days.
- Can I use a hair dryer to melt an ice dam?
- It’s not recommended. Hair dryers are not powerful enough and can create fire hazards. Professional steam‑blasting is safer and more effective.
- How long does it take to remove an ice dam?
- For an average residential roof, BR Masonry completes removal in 1–2 hours, depending on dam size and roof accessibility.